Building cloud rainforest vivariums is a unique and satisfying process. However, it is not a piece of cake. It requires a huge effort in development and management. This article will provide you with the basic blueprint of that. You will learn what a rainforest vivarium is, define your goal, select an enclosure, and consider ventilation.
Content Table
The challenge of setting up the substrate and humidity engine is also discussed. The topics of rainforest vivarium atomization, lighting requirements, and plants are also discussed. At the end, you will find a checklist. It will help you to develop and function your vivarium.
cloud rainforest vivarium
What is Cloud Rainforest Vivarium
It is a specialized enclosure that replicates the cool, mist-covered ecosystem of a tropical high-altitude cloud forest. These forests are stretched in Central and South America, Africa, Southeast Asia, and the Pacific island regions. These cloud forests have 3 main attributes.
- Cool temperatures
- Near-constant humidity
- Swirling mist
Sometimes people confuse it with lowland rainforest vivariums, which are warm and wet. For a detailed comparison, look at the following table.
| Parameter | Lowland Rainforest | Cloud Rainforest Vivarium |
| Temperature | 75–85°F | 60–72°F |
| Humidity | 70–80% | 85–100% |
| Misting Frequency | 1–2×/day | Continuous or intermittent cycles |
| Typical Plants | ● Pothos
● Philodendron |
● Moss
● Ferns ● Orchids ● Bromeliads |
| Light Intensity | Medium to High | Low to Medium (diffused) |
Planning First to Define Your Goals
The first step in building a vivarium is to set your goal, i.e., what do you want. If you want a display-only vivarium, it is easy. Similarly, if you want to build a small desktop vivarium, it is also easy to manage and develop. However, if you want to grow a tall tree in a cloud rainforest vivarium, you will need some thick skin for maintenance. In short, you need to consider various factors for planning a vivarium. Some points to consider are here.
- Size
- Plant Type
- Target Humidity
- Air Flow
- Temperature
- Atomization Rhythm
It should include the Biological carrying capacity (K). The biological carrying capacity of a tank is the extent of biological activity your cloud vivarium can handle without failure. It includes plants, microbes, the clean-up crew, and any animals. Setting a goal and then planning for it is necessary. Otherwise, your tank will become a dirty mess.
Plant Type in Cloud Rainforest Vivarium
| Target Parameter | Ideal Range | Measurement Tool |
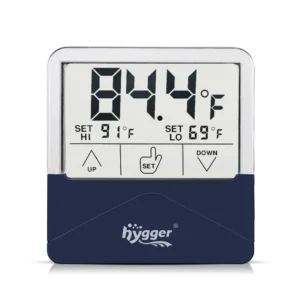
| Daytime Temperature | 65–72°F | Digital thermometer |
| Nighttime Temperature | 58–65°F | Min/Max thermometer |
| Relative Humidity | 88–100% | Digital hygrometer |
| Atomization Rhythm | 15–30 min on / 30–60 min off | Smart misting timer |
| Airflow | Gentle, no dry zones | Visual observation |
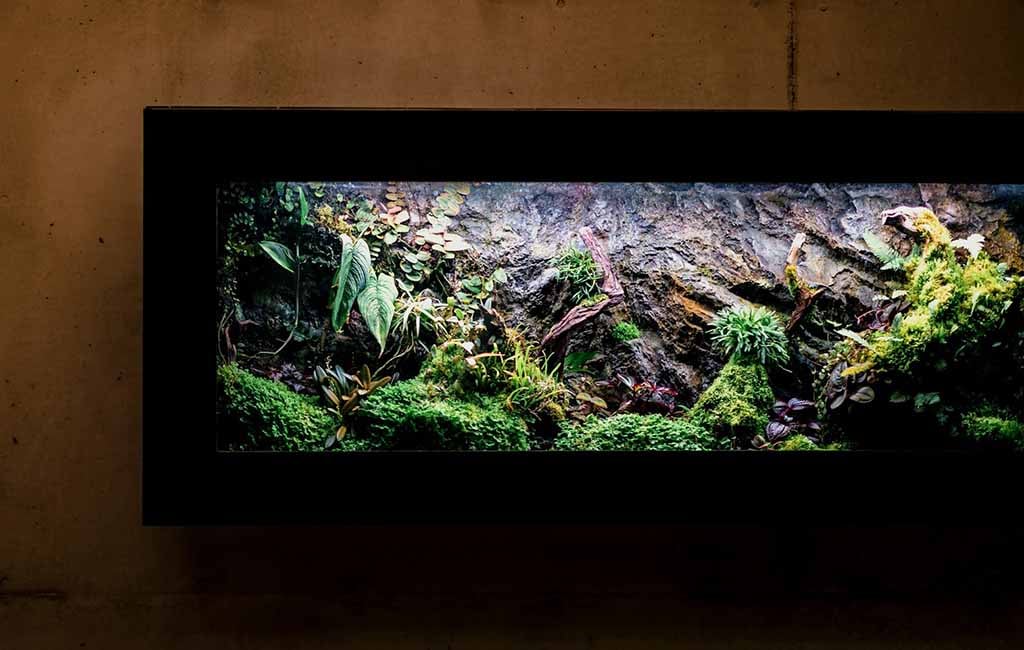
Choose the Right Enclosure & Ventilation Design
The right enclosure design and ventilation are both important aspects in building a vivarium. In case you fail in any one, the entire setup can collapse.
Enclosure Designs
Usually, two enclosure types are suitable for building a cloud rainforest vivarium, i.e., front-open glass and a glass cube.
Front open glass
It offers the following benefits.
- Easy daily access
- Better for taller builds
- Easy to feed
- Easy to maintain, i.e., plantation, trimming, and cleaning.
Glass Cube Tanks
The other excellent enclosure design is a glass cube tank. It offers several benefits.
- All-around visibility
- Easier to seal for humidity, i.e., 80%–95%
- Best for nano moss terrariums
- Offer a better view for dense foliage.
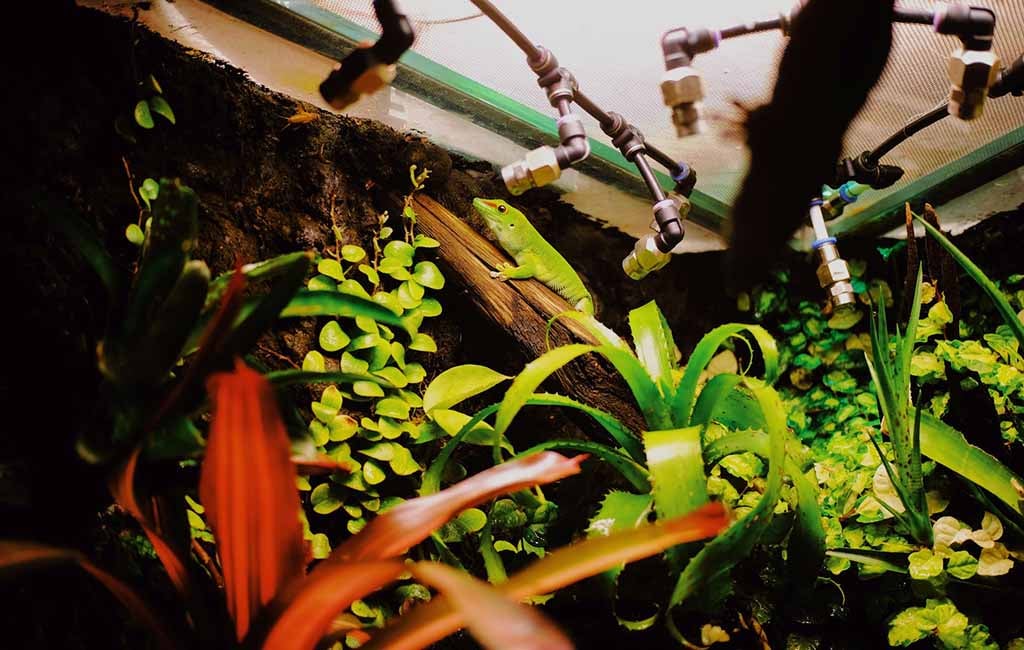
Key Ventilation Features
Cloud rainforest vivariums are associated with high humidity. Therefore, it is necessary to have proper ventilation. Otherwise, the ecosystem will be unstable and have several problems. Here are some key ventilation features that will help you in establishing a balanced vivarium in the long run.
Cross Ventilation
Maintain a cross-ventilation system. Keep the intake vent low at the front or side of the vivarium and exhaust high. The optimal exhaust vent placement is at the top or at the rear. This design will cause a chimney effect that offers natural ventilation.
Screen Top Size
Keep only 30 – 40% of the top open. Block the rest of the tank with glass or styrofoam to preserve the humidity in the tank.
Micro-Fans
Installing a small USB aquarium fan, 40mm, that runs at a low speed. It will help to improve the air flow in the vivarium. Moreover, they will also keep the humidity maintained in the tank.
Avoid Stagnant Pockets
Set the fan speed in such a way that it sweeps the back wall of the vivarium. It will help to avoid fungal hot spots in the tank that can otherwise be caused by stagnant pockets.
Enclosure & Ventilation Design
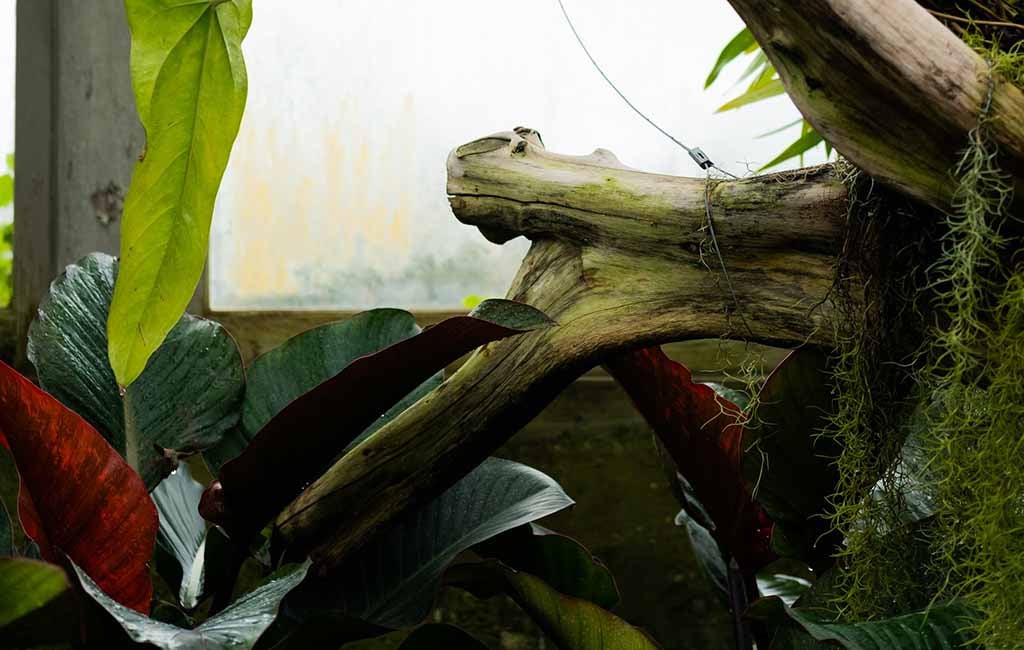
How to Setup Substrate & Soil Layer?
Although the substrate of a cloud rainforest vivarium may look like dirt. However, it is more than that. It is a complete living and breathing system. It helps in processing waste, holding moisture, housing for the cleaning crew, and anchoring plants in the vivarium.
It is necessary to set up the substrate properly because the substrate has no drainage holes. The substrate is divided into 4 layers. Here are the layers, suitable materials, approximate depth for each layer, and the purpose each layer serves.
| Layer (Bottom to Top) | Material | Depth (inches) | Purpose |
| Drainage Layer | LECA | 2 – 3 | Stores excess water |
| Fired clay balls | Prevents root rot | ||
| Separation Barrier | Mesh screen | Single layer | Keeps substrate from mixing into drainage |
| Weed fabric | |||
| Charcoal Layer | Horticultural charcoal | Helps reduce odor | |
| Keeps the base fresher | |||
| Substrate Mix | ABG Mix | 3 – 5 | Root zone for plants |
| DIY soil blend | Habitat for CUC | ||
| Top Dressing | Live moss | 1 – 2 | Moisture retention |
| Leaf litter | Micro-habitat | ||
| Cork bark | Aesthetics |
Here is a DIY ABG (Atlanta Botanical Garden) mix that can help you to lay the substrate in your cloud rainforest vivarium.
- 2 parts tree fern fiber or coconut coir
- 2 parts long-fiber sphagnum moss
- 1 part orchid bark (fine grade)
- 1 part peat-free organic compost
- 5 part horticultural charcoal (aids drainage and filtration)
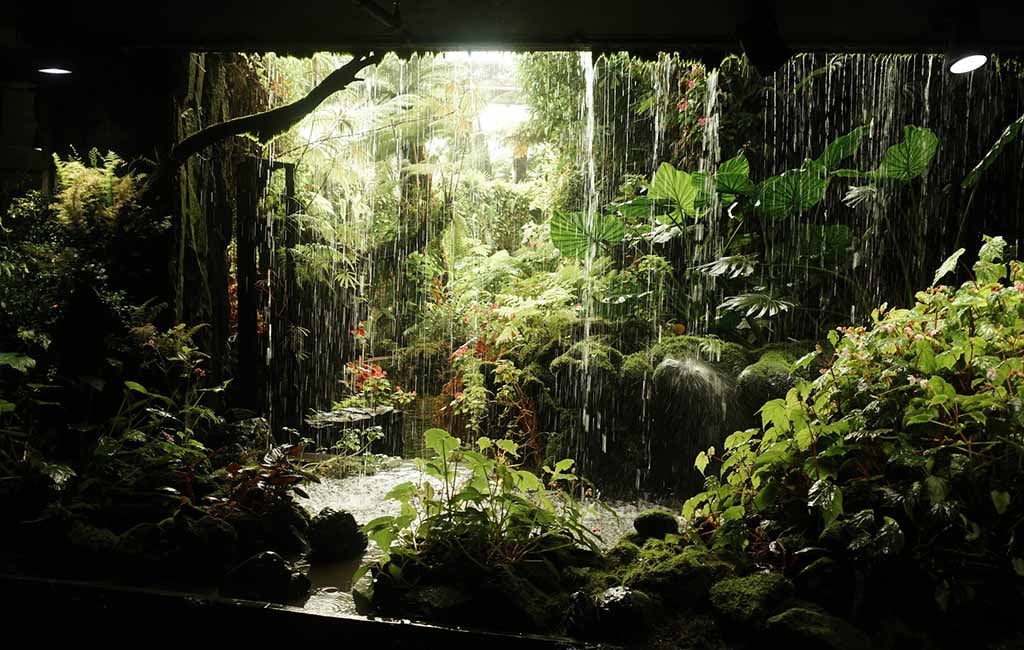
rainforest vivarium atomization
The Humidity Engine
You can consider it as the backbone of the cloud rainforest vivarium. It helps to keep the moss green, the air thick, and plants and animals alive in the tank. Usually, a humidity engine consists of 4 parts.
- Ultrasonic fogger or misting system
- Reservoir tank
- Hygrostat controller
- Water Quality
Ultrasonic Fogger or Misting System
Ultrasonic foggers create very fine and cold water droplets in a vivarium. These help to create clouds in the tank. While the misting system also generates water droplets, these droplets are heavier than those of the ultrasonic fogger.
Reservoir Tank
This is the backbone of the humidity engine. Add a 1 to 5-gallon tank reservoir. Fill the tank with RO water. Ultrasonic foggers or misting systems take the water from this reservoir.
Hygrostat Controller
It helps to maintain the humidity level in the tank. It is connected to the fogger. You need to set the desired humidity level. The Hygrostat controller turns on and off to maintain the desired humidity.
Water Quality
Maintain the water parameters according to the plants in the vivarium. Especially maintain the water TDS level at 30 ppm.
Setting Strategy for Rainforest Vivarium Atomization
| Strategy | How It Works | Best For | Risk |
| Intermittent Atomization | Mist runs for 15–30 min, then stops for 30–60 min | Most animals | Low |
| Prevents standing water on leaves | |||
| Persistent/Continuous Misting | Fogger runs almost constantly at low output | Moss-only | High mold risk without good ventilation |
| Orchid builds with strong airflow | |||
| Dawn/Dusk Cycling | Heavy mist at “sunrise” and “sunset,” dry midday | Reptiles | Low |
| Dart frogs | |||
| Naturalistic setups |
Recommended Atomization Schedule
Here is an atomization schedule for a beginner-level vivarium.
| Time | Duration/Status | Event/Purpose |
| 6:00 AM | 20-minute mist cycle | Morning cloud event |
| 12:00 PM | 10-minute mist cycle | Midday maintenance |
| 6:00 PM | 20-minute mist cycle | Evening cloud event |
| 10:00 PM | 10-minute mist cycle | Pre-dark maintenance |
| Overnight | Passive | Hygrostat holds 88–92% |
Light and Plants Selection
Light and Plants Selection
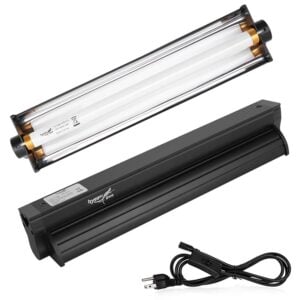
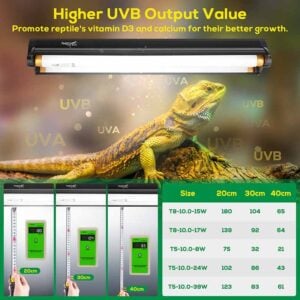
Lighting Plan
In the native environment, cloud forests receive low-intensity and filtered light. For an optimal and balanced vivarium, match the lighting plan according to their natural habitat. Turn the lights on for 10 to 12 hours daily, as it is the natural photoperiod of these plants.
| Light Type | PAR Range | Suitable For |
| T5 HO Fluorescent (6500K) | 30–60 PAR | Low-light orchids |
| Ferns | ||
| Mosses | ||
| LED Grow Panel (low setting) | 50–100 PAR | Mid-light bromeliads |
| Begonias | ||
| Full-spectrum LED Bar | 20–50 PAR | Nano nano-builds |
| Moss walls |
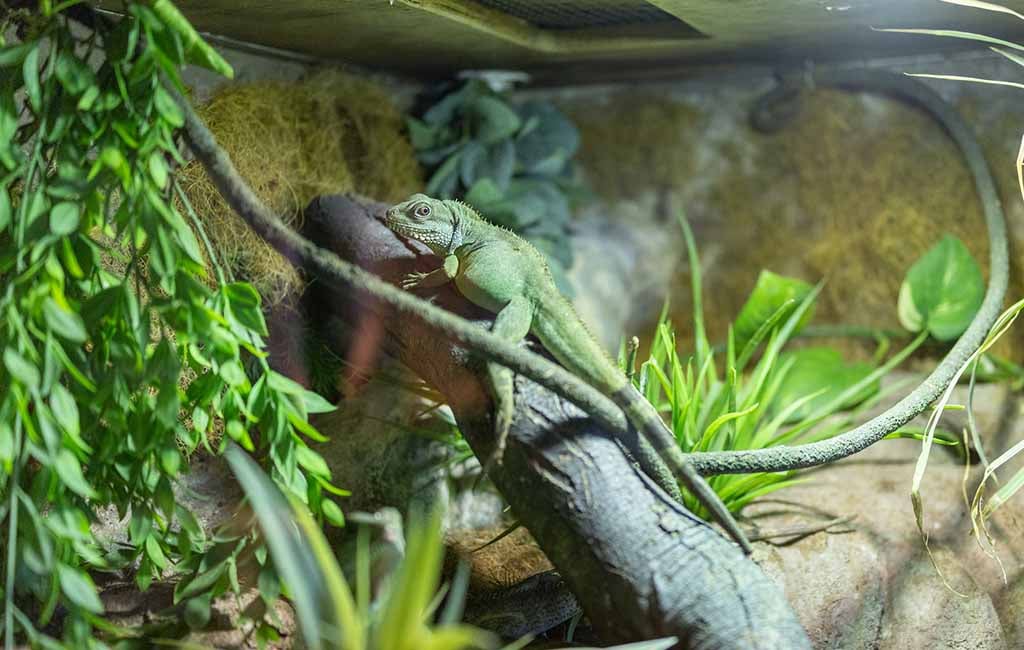
The Best Plants For Cloud Rainforest Vivarium
Here are some of the best plant options for a cloud rainforest vivarium.
| Plant Type | Species | Description/Feature |
| Live mosses | Sheet moss | Thrive in 95%+ humidity |
| Star moss | The backbone of any cloud build | |
| Pillow moss | ||
| Miniature orchids | Stelis | Native cloud forest dwellers |
| Lepanthes | love mist and cool nights | |
| Dracula species | ||
| Ferns | Rabbit’s-foot ferns | Add volume and texture |
| Maidenhair ferns | ||
| Button ferns | ||
| Bromeliads | Tank bromeliads | Collect water in their cups |
| Perfect frog breeding sites | ||
| Humidity buffers | ||
| Begonias | Jewel begonias | Produce stunning leaf patterns in the presence of diffused lighting |
| Rhizomatous types | ||
| Peperomia | String of Turtles | Compact |
| Peperomia emarginella | Extremely tolerant of high humidity | |
| Trailing Jade | Slow-growing |
Arrange a Micro-Ecology and Clean up Crew
The clean-up crew is among the most vital parts of a stable cloud rainforest vivarium, as they are a part of the micro ecology of the tank. They help to break down the waste, eat mold, and convert dead plant leaves into fertilizer for the plants in the vivarium.
rainforest vivarium soil layer
Suitable Time To Introduce In The Vivarium
When you are done with the plantation in the vivarium and 4 to 6 weeks have passed, it’s time to introduce the CUC to the tank. During these 4 to 6 weeks, the substrate stabilizes itself, and plants acclimate according to vivarium conditions. This time is also necessary as microfilm of beneficial bacteria is under development, which is a food for the clean-up crew.
Here are some of the top clean-up crew creatures for the cloud rainforest vivarium.
| Species | Role | Starting Count (Individuals per 10 gal) | Notes |
| Springtails (Folsomia candida) | Mold control | 200–500 | Must-have for all cloud builds |
| Fungus eaters | |||
| Isopods (Trichorhina tomentosa) | Waste breakdown | 25–50 | “Dwarf white” isopods |
| Leaf litter cycling | Safe with small frogs | ||
| Temperate isopods (Porcellio scaber) | Heavy-duty waste processing | 10–20 | Use in larger |
| Cooler builds only | |||
| Waxworms/mealworms | Supplemental food source for animals | As needed | Not a cleanup species |
| Use only as prey |
Key Observation Point
- Check the population growth after 2 to 3 weeks. If individuals disappeared during this time, you need to adjust the moisture and acidity of the substrate.
- Check the isopods at night under cork bark or leaf litter to confirm activity.
- If mold presence is there even after 2 weeks, slightly increase airflow. Also, reduce the misting duration by 20%.
Action Checklist
- Define your goals by writing species, size, temperature, and humidity targets.
- Select and seal the enclosure optimally.
- Maintain the optimal cross-ventilation
- Install a drainage layer (LECA), separation barrier, and ABG substrate mix.
- Set up the humidity engine, fill the tank with RO water, and set the value at the hygrostat controller.
- Schedule the atomization optimally.
- Allow 4 to 6 weeks before adding a clean-up crew to establish optimal conditions.
- Provide a 10 to 12-hour photoperiod and maintain low-to-medium PAR.
- Use springtails and dwarf white isopods as your first CUC in a cloud rainforest vivarium.
- Monitor the humidity, temperature, and mold levels for 2 weeks before introducing animals.
Related Products

Leave a comment