Aquariums bring freshness and relaxation to your house. Through the clear water, you are immediately in a better mood when you see fish in color. But have you ever wondered about constructing your own fish tank? That can be done with acrylic tanks, and it is much easier than you imagine.
Content Table
Acrylic aquariums are easy, strong, crystal-clear, and suitable for both novices and professionals. We will discuss all the details about acrylic aquarium fish tanks, including their advantages and disadvantages, DIY acrylic fish tank at home, and how to maintain it.

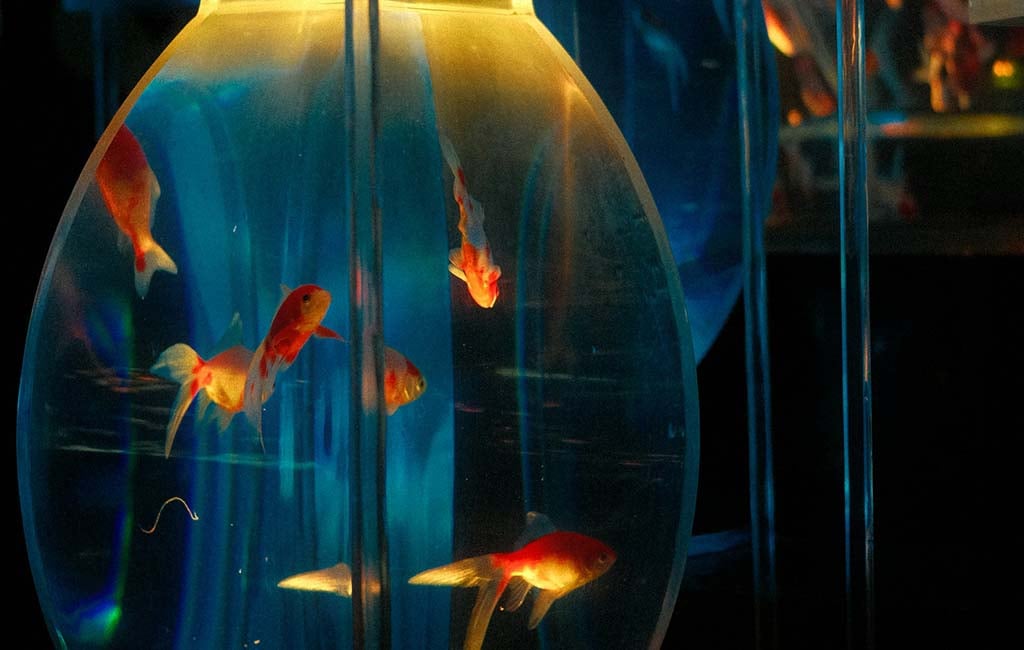
acrylic fish tank
Why Are There Acrylic Aquariums?
The popularity of acrylic aquariums lies in the fact that they are more durable and lighter than glass tanks. They are made of a transparent plastic substance referred to as polymethyl methacrylate (PMMA), also known as acrylic.
The greatest reason why aquarists prefer acrylic tanks is because of their strong transparency and versatility in design. Acrylic can be rounded or even curved, which makes it more attractive.
Advantages of Acrylic Aquariums
Acrylic tanks have many benefits that make them stand out:
- Lightweight structure: Acrylic is approximately half that of glass. It is easy to move and install, even in large sizes.
- Impact resistance: Acrylic does not break like glass. It is more shockproof, and it is less dangerous in the presence of children and pets.
- Crystal-clear appearance: Acrylic will permit a larger amount of light to pass through. This will make your tank appear more natural and bright.
- Design flexibility: You can shape acrylic to any shape, or cylinders, corners, or bow fronts, to create an unusual design.
- Better insulation: Acrylic would save more heat as compared to glass, which would keep the water at a steady temperature.
Disadvantages of Acrylic Aquariums
Similar to all materials, there are some demerits of acrylic as well:
- Scratch-prone: Acrylic scratches very easily, particularly in cleaning. You will require soft cloths and Acrylic pads, which are safe to use.
- Cost: Acrylic tanks are sometimes very expensive compared to glass tanks. However, the difference is worth it if you want durability.
- Yellowing risk: Acrylics of low grade become yellow over time, although high-grade acrylic remains white over decades.
- Chemical sensitivity: Acrylic is sensitive to strong cleaning agents, so you should be careful when doing the tank maintenance.
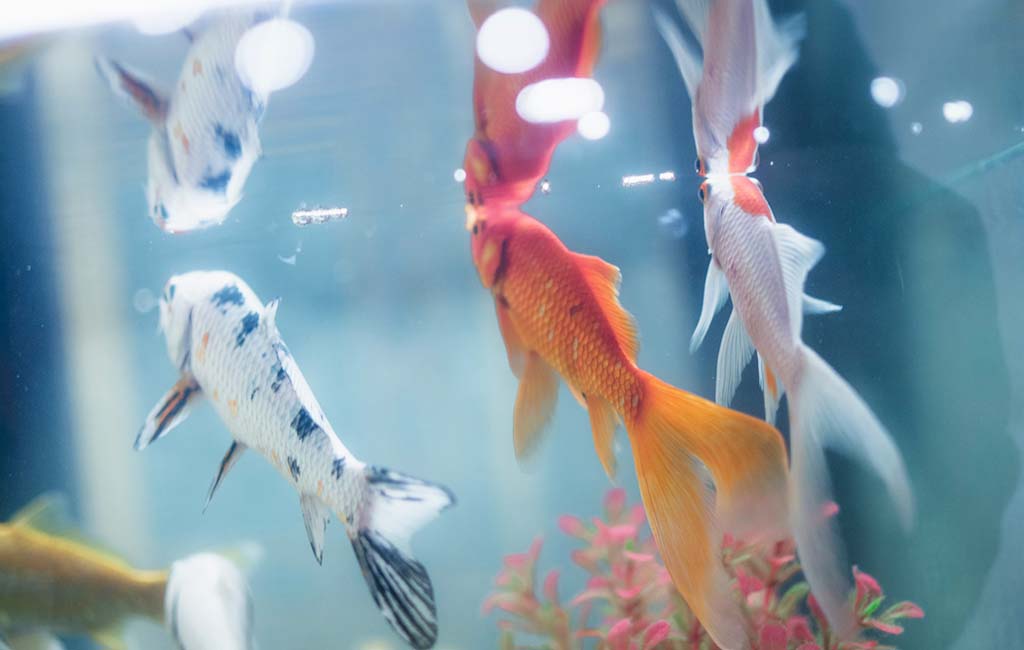
acrylic aquarium fish tank
Lifespan and Cost
The Acrylic aquarium has a life span of up to 10–20 years, or even longer in the case of a well-built aquarium. Its longevity mainly relies on the quality of acrylic and maintaining it. Acrylic tanks may cost as little as $100 in small sizes and several hundred dollars when one wants a larger tank or if they are custom-designed. The cost might seem high initially, but the long-term clarity and strength justify it.
Maintenance Points and Building Difficulty of an Acrylic Fish Tank
The process of constructing and maintaining an acrylic fish tank is not that hard in case one follows the correct guidelines. Still, it needs details and regular care.
Maintenance Points
- Use acrylic-safe tools: Always clean with soft sponges or microfiber cloths. Avoid sharp scrapers or rough pads.
- Avoid harsh chemicals: Don’t use alcohol or ammonia-based cleaners. They can damage the acrylic surface.
- Check for leaks: Inspect your seams occasionally, especially if you’ve built the tank yourself.
- Polish scratches: You can use acrylic polish kits to remove fine scratches.
- Control algae growth: Use a magnet cleaner designed for acrylic to remove algae without scratching.
Building Difficulty
It is not as complicated as most people believe it to be to build an acrylic aquarium at home. Problems that are primarily associated with the task are proper cutting and sealing. Acrylic is lighter than glass, hence easier to manipulate. Nevertheless, the adhesive should be correct, and the edges should be glove-fit. Even a beginner can accomplish it with patience and a good measure.
DIY acrylic fish tank
The Best Acrylic for Aquariums
The most important step to follow before DIY acrylic fish tank is to select the right acrylic sheet. Acrylic is not of the same quality and type to influence that clarity and strength of your tank.
1. Cast Acrylic
The cast acrylic is the most appropriate for aquariums. It is prepared by pouring the liquid acrylic into the molds, which causes it to be denser and more transparent. Cast acrylic is less prone to pressure, and it is more resistant to chemicals. It is also less stressed internally, thus remaining clear over a long period of time. Cast acrylic has been utilized in most professional aquariums due to its greater optical clarity. Cast acrylic would be the best to use in the long run.
2. Extruded Acrylic
Extruded acrylic is cheaper and lighter yet more flexible, with a tendency to crack. It will operate with small tanks that are less than 30 gallons, but it is not suitable for the large builds.
3. Thickness
The thickness depends on your tank size. Here’s a quick guide:
- Up to 20 gallons — 1/4 inch acrylic
- 20–50 gallons — 3/8 inch acrylic
- 50–100 gallons — 1/2 inch acrylic
- Over 100 gallons — 3/4 inch or thicker acrylic
The thicker the acrylic, the less bowing you’ll get from underwater pressure.
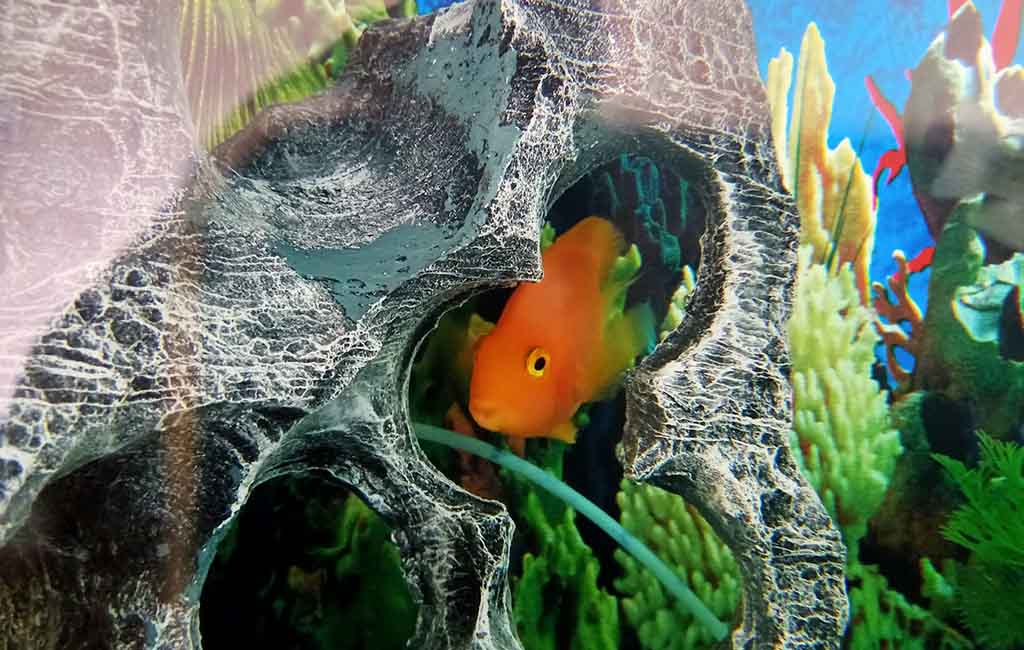
Build an Acrylic Fish Tank
Build an Acrylic Fish Tank Easily
Now it is time to go to the exciting part, when you have to build your own acrylic fish tank at home. These are steps that should be followed to ensure that it is leakage-free and safe.
Step 1: Gather Materials
You’ll need:
- Cast acrylic sheets (cut to size)
- Acrylic cement (Weld-On 4 or 16)
- Applicator bottle or syringe
- Masking tape
- Fine sandpaper
- Measuring tape
- A flat working surface
- Protective gloves
Step 2: Cut the Acrylic Sheets
Determine the size of your tank and prepare your acrylic sheets in advance by one of the local suppliers. If you are cutting it at home, a table saw with a fine-tooth blade would be used. Ensure that every corner is rounded and flat.
Step 3: Smooth and Polish the Edges
Use the fine(400-600 grit) sandpaper on the edges. Wipe any dust using a clean cloth and then assemble. The more the edges are clean and smooth, the better the seal.
Step 4: Tape the Panels Together
Set the lower panel of your workplace. Attach the masking tape to the side and front panels. This will assist you in shaping the tank and make everything fine.
Step 5: Apply Acrylic Cement
Apply acrylic cementing with an applicator bottle on the seams. The cement operates by melting the acrylic a little bit, holding it permanently. Allow it to dry for a minimum of 24–48 hours.
Step 6: Remove Tape and Check for Leaks
Polish in the removal of the masking tape. Add some water to the tank to check the leaks. In case of any, pour out the draining cement and replenish within the cracking joint.
Step 7: Install the Accessories
After you pass your leak test, add your filter, heater, and light setup. Before placing fish, ensure that you place cords and hoses appropriately.
Keep an Acrylic Aquarium Clean
How to Keep an Acrylic Aquarium Clean Daily
An aquarium made of acrylic requires smooth yet frequent cleaning. With a couple of daily habits, you will be able to keep your tank crystal pure and beautiful.
1. Wipe the Exterior
Clean the outside of your tank with a microfiber cloth every day. Do not use glass cleaning solutions/chemicals that will damage the acrylic.
2. Remove Algae Early
Waiting until it gets algae accumulated. Periodically, approximately once every 3 days, use an acrylic-safe magnet cleaner in order to clean any green spots present. This ensures that the tank is clean and has no scratches.
3. Maintain Water Quality
Monitor parameters of test water such as pH, ammonia, and nitrate. Clean water dissolves the algae as well as keeps the fish healthy.
4. Clean Filters and Equipment
Check the filters weekly. Contaminated filters influence the circulation of oxygen and improve opacity. Wash them using tank water rather than tap water in order to save healthy bacteria.
5. Avoid Overfeeding
Too much food will cause the accumulation of waste. Do not overfeed your fish more than it can take two minutes to eat. This hobby would make your tank water last longer.
6. Use a Gravel Vacuum
Clean the substance using the vacuum cleaner once a week to clean up the debris and uneaten food. This maintains the tank bottom clean and minimizes harmful toxins.
7. Polish Scratches Occasionally
In case there are small scratches, then there is an acrylic polish kit that can be used. The regular (every few months) polishing of your tank makes it appear like a new tank.
To Conclude
It is not as difficult as it may seem to construct a fish tank at home using acrylic. It provides you with the freedom to shape, size, and design, and is lighter and stronger than glass. The advantages of acrylic tanks include durability, clarity, and safety, along with a few disadvantages, such as scratches.
To make the tank last for decades, pick the safe adhesives, safe materials to be applied, and treat it carefully when you use cast acrylic. It will be in top condition because of the daily cleaning, good feeding, and frequent water checks.
Building your own aquarium is not a DIY project at all; it is an experience. It identifies you with your own aquatic life. It’s time to get your tools ready, choose your sticky acrylic, and build yourself the ideal house under the water today.
Related Products


Leave a comment