Setting up a reef tank can be an intimidating experience, but having the right sump can make all the difference. This guide will take you through everything you need to know about setting up your reef tank to have the ideal setup, including choosing the proper location, adding the right equipment, and making sure you avoid common mistakes. Once you’ve set up your perfect reef sump, you’ll be able to enjoy all the benefits of owning an amazing marine aquarium.
Content Table
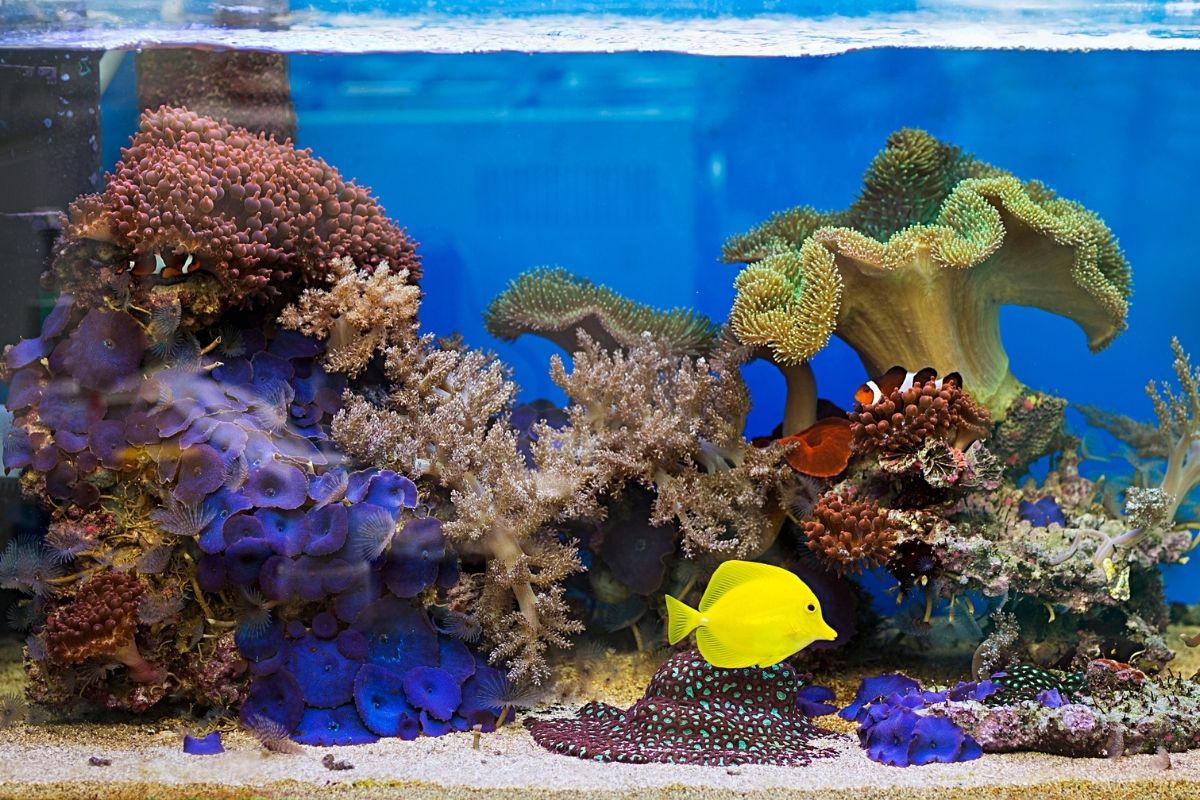
What Is a Reef Sump and Why Should You Have One?
A reef sump is an extra tank that you place your main aquarium into. In the event of overflow, it will catch any water that escapes from your main tank and keep it in one place until you can fix the problem with your main tank. You should have one if you are serious about keeping a saltwater aquarium. It’s important to remember that even in the best-maintained tanks, there will always be something that might need fixing, and having this safety net will ensure that your fish will never be exposed to the direct effects of any malfunctioning equipment you might have within your main tank itself.
The Equipment You Need to Set up a Perfect Reef Sump
A reef sump creates the perfect environment for your living rock, corals, and invertebrates to thrive. While building one from scratch can be tricky, acquiescing one in an existing aquarium can be simple – but only if you have the right equipment on hand. Here we’ll cover some of the most essential pieces of equipment for setting up the perfect reef sump.
1. Choosing a tank
First, you need to decide whether a glass or acrylic tank will work best for your sump. While glass is more expensive, it’s also tougher and will be less likely to crack if you drop it than acrylic. Acrylic tanks are lighter, which can make them easier to set up on your own, but they can scratch easier and aren’t as tough. Many people opt for an acrylic tank and cover it with a glass cover or something similar to protect it.
2. Skimmer
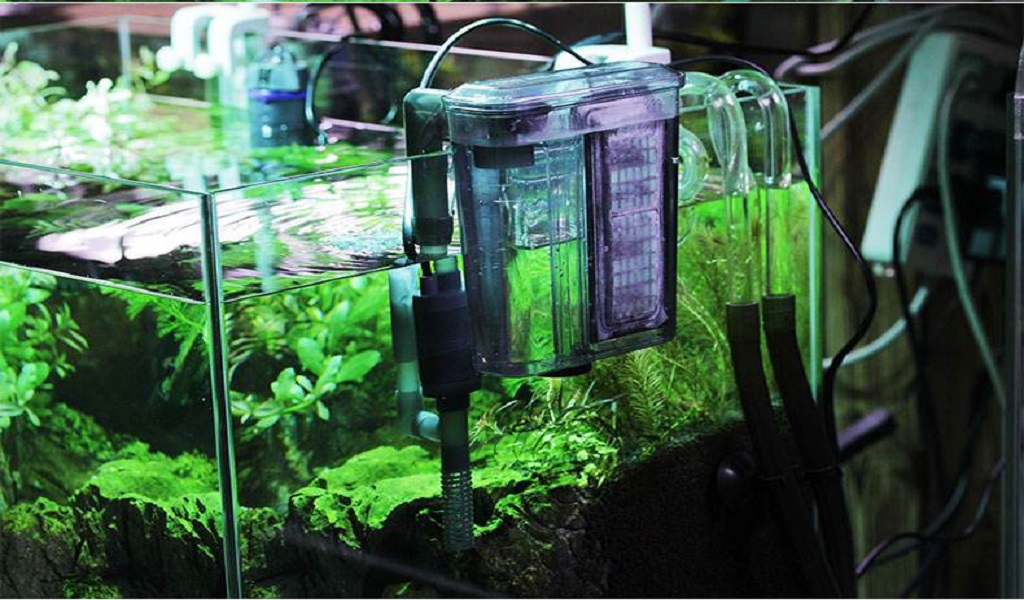
A skimmer, or a foam fractionator, is a device used to remove organic compounds from water to improve its clarity. In saltwater aquariums, skimmers are usually placed in sumps – which are designed to catch water from various sources and combine it into one reservoir. While there are many types of skimmers out there, choosing one for your sump is quite simple if you know what you’re looking for. Most skimmers will come with instructions that include specifications on how much water they can handle per hour. The more powerful your skimmer, however, the more energy it will consume.
3. Lights
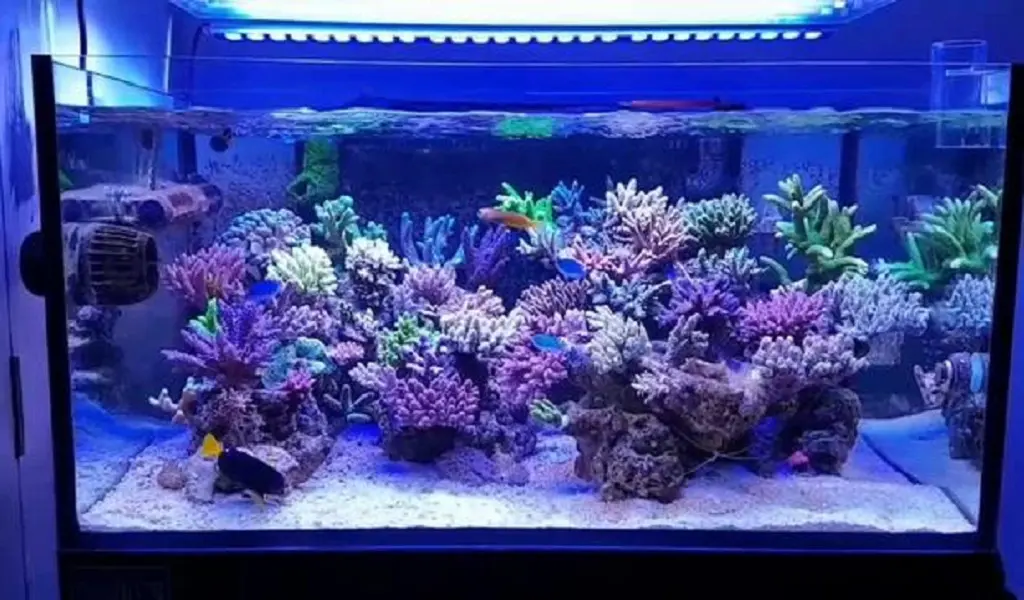
Lights are also another important piece of equipment to set up a perfect reef sump. Your light bulbs should be bright enough to penetrate at least a few inches into your water. 12/24-watt compact fluorescent bulbs are perfect for a 29-gallon sump, but if you’re planning on buying a bigger tank later, make sure your lights can handle it. Remember that not all of your aquarium will be lit by these bulbs; they need to provide light in every corner of your sump.
Some manufacturers sell full spectrum light or daylight LEDs that simulate natural sunlight and are ideal for reef tanks; others use metal halide or high-pressure sodium lamps (the same type used in streetlights) that emit blue and red wavelengths only.
4. Additional equipment
In addition to those core pieces of equipment, numerous pieces of equipment and technology can help maintain a healthy reef tank. Some experts recommend adding protein skimmers, live rock-cleaning tools, oxygen injectors, ozone generators, and power head to augment filtration and water movement. These extras can be added later in your aquarium’s life cycle after you’ve attained a higher level of expertise as an aquarist.
How to Set up a Perfect Reef Sump in 5 Easy Steps
After you have decided to set up a reef tank, the next step is to set up your reef sump.
Here are five steps to set up a perfect reef sump:
Step 1: Get started
The first step is simple: determine what you want to accomplish. If your goal is a beautiful, thriving, bountiful coral and fish tank; then that’s what you should put first. How much room do you have for livestock? What type of lighting are you using? Determining these things can help streamline your build and ensure that you don’t over or under-build for your needs. It also gives you something to look forward to.
Step 2: Choose a space for your reef
A great place for your aquarium is right next to a window where it can receive lots of natural sunlight. Be sure that there are no air conditioning or heating vents nearby. Also, try not to put your aquarium too close to any other electronic equipment, as they emit electromagnetic fields that can sometimes interfere with fish’s delicate navigational systems.
Aquarium saltwater tanks also work best if they are situated on a hard surface such as concrete or wood – never directly on the carpet! The height of your tank should be at least 30 inches and you should allow at least 3 feet all around for walking space. The larger the tank, the better because you will have more room to add decorations and let your imagination run wild.
Step 3: Add equipment to your sump
Once you’ve chosen and purchased your equipment, it’s time to add them to your sump. Their addition will surely help you a lot to set up a perfect reef sump. If you added an overflow box, position it at eye level or above with plenty of room for water movement around it. Place your skimmer inside your tank so that its water intake line is inserted in one of your sump’s upper chambers.
If you plan on using an ATO system for automatic top-off, locate it beside your skimmer but still within sight of both aquarists and livestock. Finally, if you’re using a protein skimmer, be sure to place it as close as possible to your return pump without causing too much turbulence.
Step 4: Put it all together
Now that you’ve got all your components together, it’s time to assemble your sump. Don’t have any experience with plumbing? Fear not: most sumps are fairly straightforward, and chances are you won’t have any problems. Use flexible tubing (not rigid) wherever possible because it’s easier to deal with and less likely to be damaged. If you need to use rigid tubing, make sure you purchase plenty of extra lengths so there’s room for error – you don’t want to find out that your tubing is too short when everything is put together.
Also remember that if one piece of equipment needs more than one input or output line, there will be multiple holes in its mounting bracket. The same goes for every single hole on each piece of equipment—if two holes exist where there should only be one, then both holes are used.
Step 5: Create your return pump setup
A return pump is used to move water from your tank back into your sump. Because these pumps use electricity, you must purchase one with an appropriate wattage rating and check frequently for wear and tear.
Conclusion
Sumps are an integral part of a saltwater tank’s filtration system. If you don’t have one, you should probably consider getting one. Because they play a vital role in keeping your fish happy and healthy. One of the most difficult things to set up a perfect reef sump when you first start setting up your reef tank can be the sump, but once you’ve got it figured out, and you’re using the right equipment, it’s far easier to maintain than many beginners expect.
Related Products


Leave a comment