Building a DIY aquarium is fun and presents many challenges in itself. Here is a complete procedure with a material list required for building a DIY fish tank.
Content Table
In the following, you will learn how to DIY an aquarium while keeping a 60-gallon fish tank example, without a brace. You will also find other information about using epoxy resin and other materials used for it.
Can It Use Epoxy Resin to DIY a Fish Tank
Epoxy resin is popular nowadays. You can find its use in several DIY products, i.e., jewelry, decoration items, etc. However, you can’t use it for a DIY fish tank for many reasons. Some of the reasons that make it inappropriate are the following.
Aqua Pets Safety
Epoxy resin usually contains chemicals. It is dangerous to use it for a DIY fish tank. In case of any chemical leaching, fish can face a severe impact. Although some available epoxy resins claim that they are 100% organic, it is recommended that you don’t use them.
Strength
Glass and other materials are far more sturdy in the same thickness as epoxy resin. Therefore, it is better to use other materials instead of epoxy resin.
Transparency
Epoxy resin makes the view dull and blurry. While aquariums are kept for watching the aquatic pets play around. Therefore, using other materials instead of it is a better choice.
Some Suggested Materials
There are some other materials that you can use for a DIY fish tank.
- Glass
Glass is widely used among aquarium enthusiasts. It is great in transparency, strength, safety, and maintenance aspects.
- Fiberglass
It is used for large DIY fish tanks. However, it requires some proper sealant, i.e., epoxy resin, for proper bonding.
- Acrylic/Plexiglass
Plexiglass is lighter than glass. However, some aspects downgrade it from glass, i.e., it scratches easily, and a thick panel is required.
Material Can Be Used to Join the Glasses of an Aquarium
Several glass-bonding materials help in joining the DIY glass aquarium panels. Some of them are in the following.
- Aquarium-grade silicone sealants
- Glass Adhesives
- Acrylic cement
However, aquarium-grade silicone sealant, i.e., GE silicone II, is inexpensive, commonly available, and suitable for aqua pets.
Other Materials
Besides the silicone glue, some other materials are also required to DIY a fish tank. Here is a list of the materials.
- Tempered Glass Panels
- Glass cutter (optional)
- Sandpaper (optional)
- Masking tape
- Duct tape
- GE Silicon II glue
- Silicon glue gun
- Scissor
- 70% Isopropyl Alcohol
- Razor Blade
- Gloves
- Removable Ink Marker
- Tissue paper
- Paper
How to DIY an Aquarium
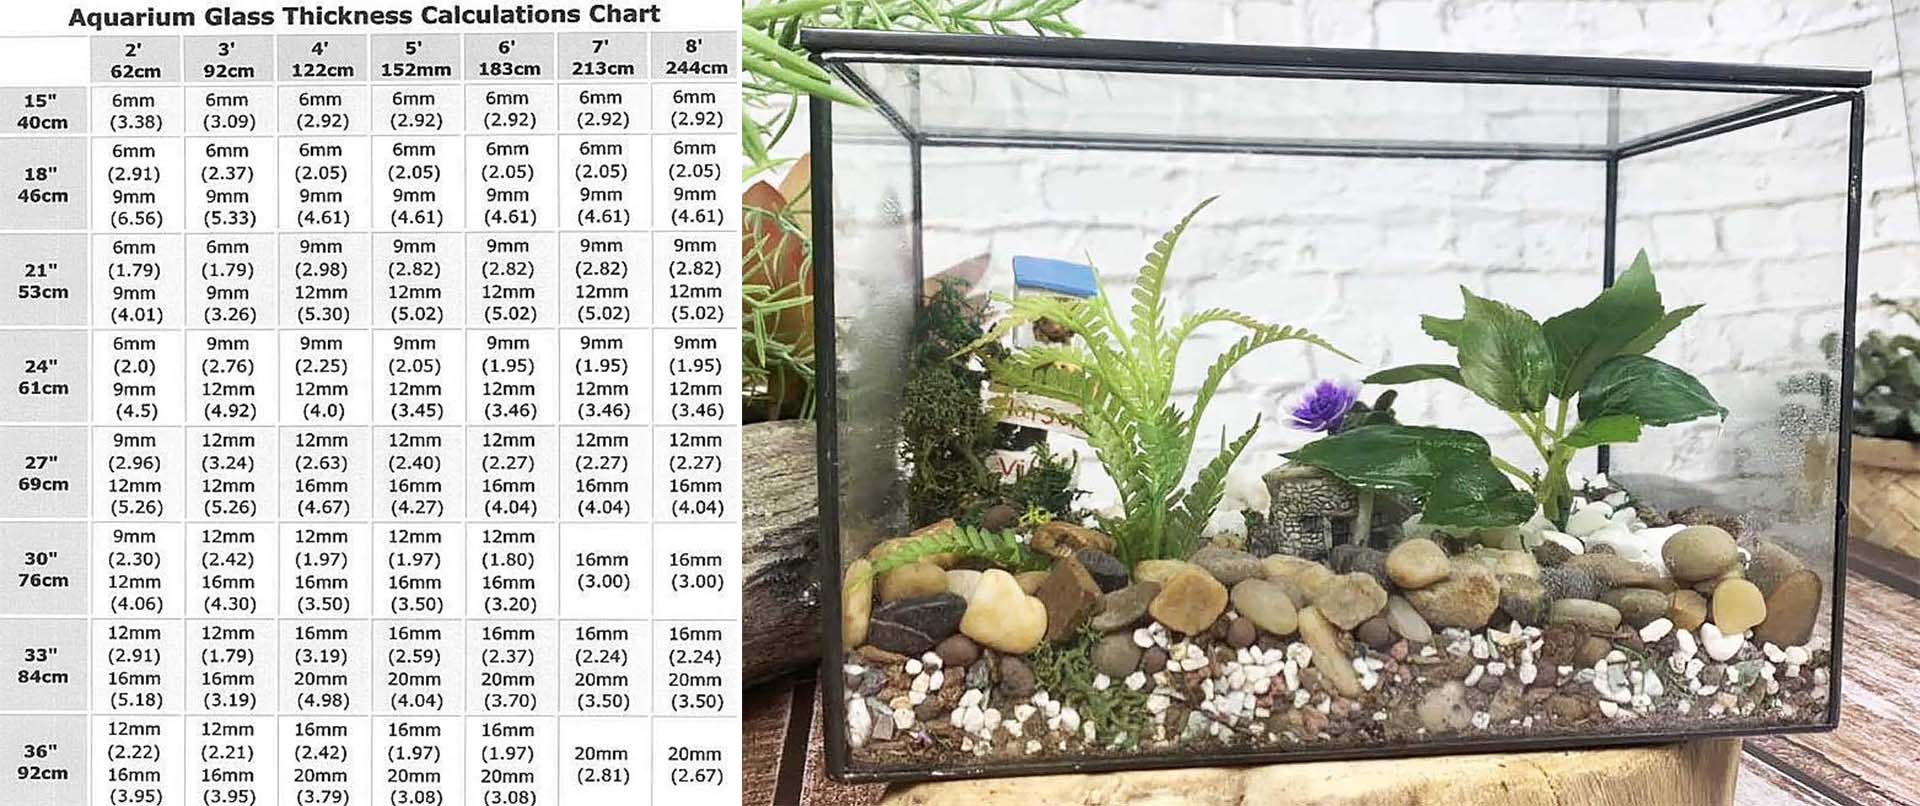
Follow this procedure to have a leakage-proof and well-finished aquarium. Taking a 60-gallon tank as an example to explain the procedure. If you desire any other dimension, then cut a glass with proper thickness according to the desired dimension. You can find the safe thickness for the glass from the chart.
Glass Cutting
If you have experience with glass cutting, then go for it. Otherwise, it’s suitable to visit a professional for this task.
The suitable dimensions for a 60-gallon tank are 5 tempered glass panels, 48 inches in length, 12 inches in width, and 24 inches in height.
After cutting, smooth the sharp edges. It’ll help in leak-proof bonding and other dangers.
Mask the Glass Panels
Once you have proper glass panels, mask the glass panels’ sides with masking tape. Leave the space according to the panel thickness. Masking tape helps to have a smooth and clean operation.
Attach the masking tape in such a way that the tape peels from the sides with ease.
Label the Panels
Label the sides of the glass panels, i.e., front, back, left, right, and peel off the order of masking tape. This labeling will help you join and finish your DIY project.
Joining the Glass Panels
Spread a piece of paper on a smooth and horizontal surface and place all the glass panels in the right arrangement. Cut about 16 pieces of a 5-inch length of duct tape and hang them near your surface. Clean the sides with 70% isopropyl alcohol to remove all debris and oil. These things will cause loose bonding.
Cut the GE silicon II glue nose at a 45-degree angle. Cut the cap according to your desired bead width. Use the opener needle that is present on the glue gun.
After setting up everything, place the glue can in the gun and apply it to both surfaces. After the vertical glue bond, secure them with cut duct tape pieces. Apply the glue on the rest of the sides and secure them with duct tape to both the base and side panels.
Once you have finished vertical bonding, apply one or two coats of glue from inside to make them leakproof.
Applying EVA Foam at the Bottom
Take an EVA foam according to the bottom plate size and apply it to the bottom. It will increase the portability and strength at the bottom.
Cleaning
Once you have completed the task, remove the masking tape from the sides. Use a razor blade to remove extra silicon sealant beads from the surface. Once you have done this procedure, leave it for 24 to 48 hours for sturdy bonding.
After the Fish Tank Is Done
Once you have finished your DIY tank, do a water test. Remove the duct tape from the side panels, fill the aquarium with water, and check the leakage. If everything is fine, then you can go with it.
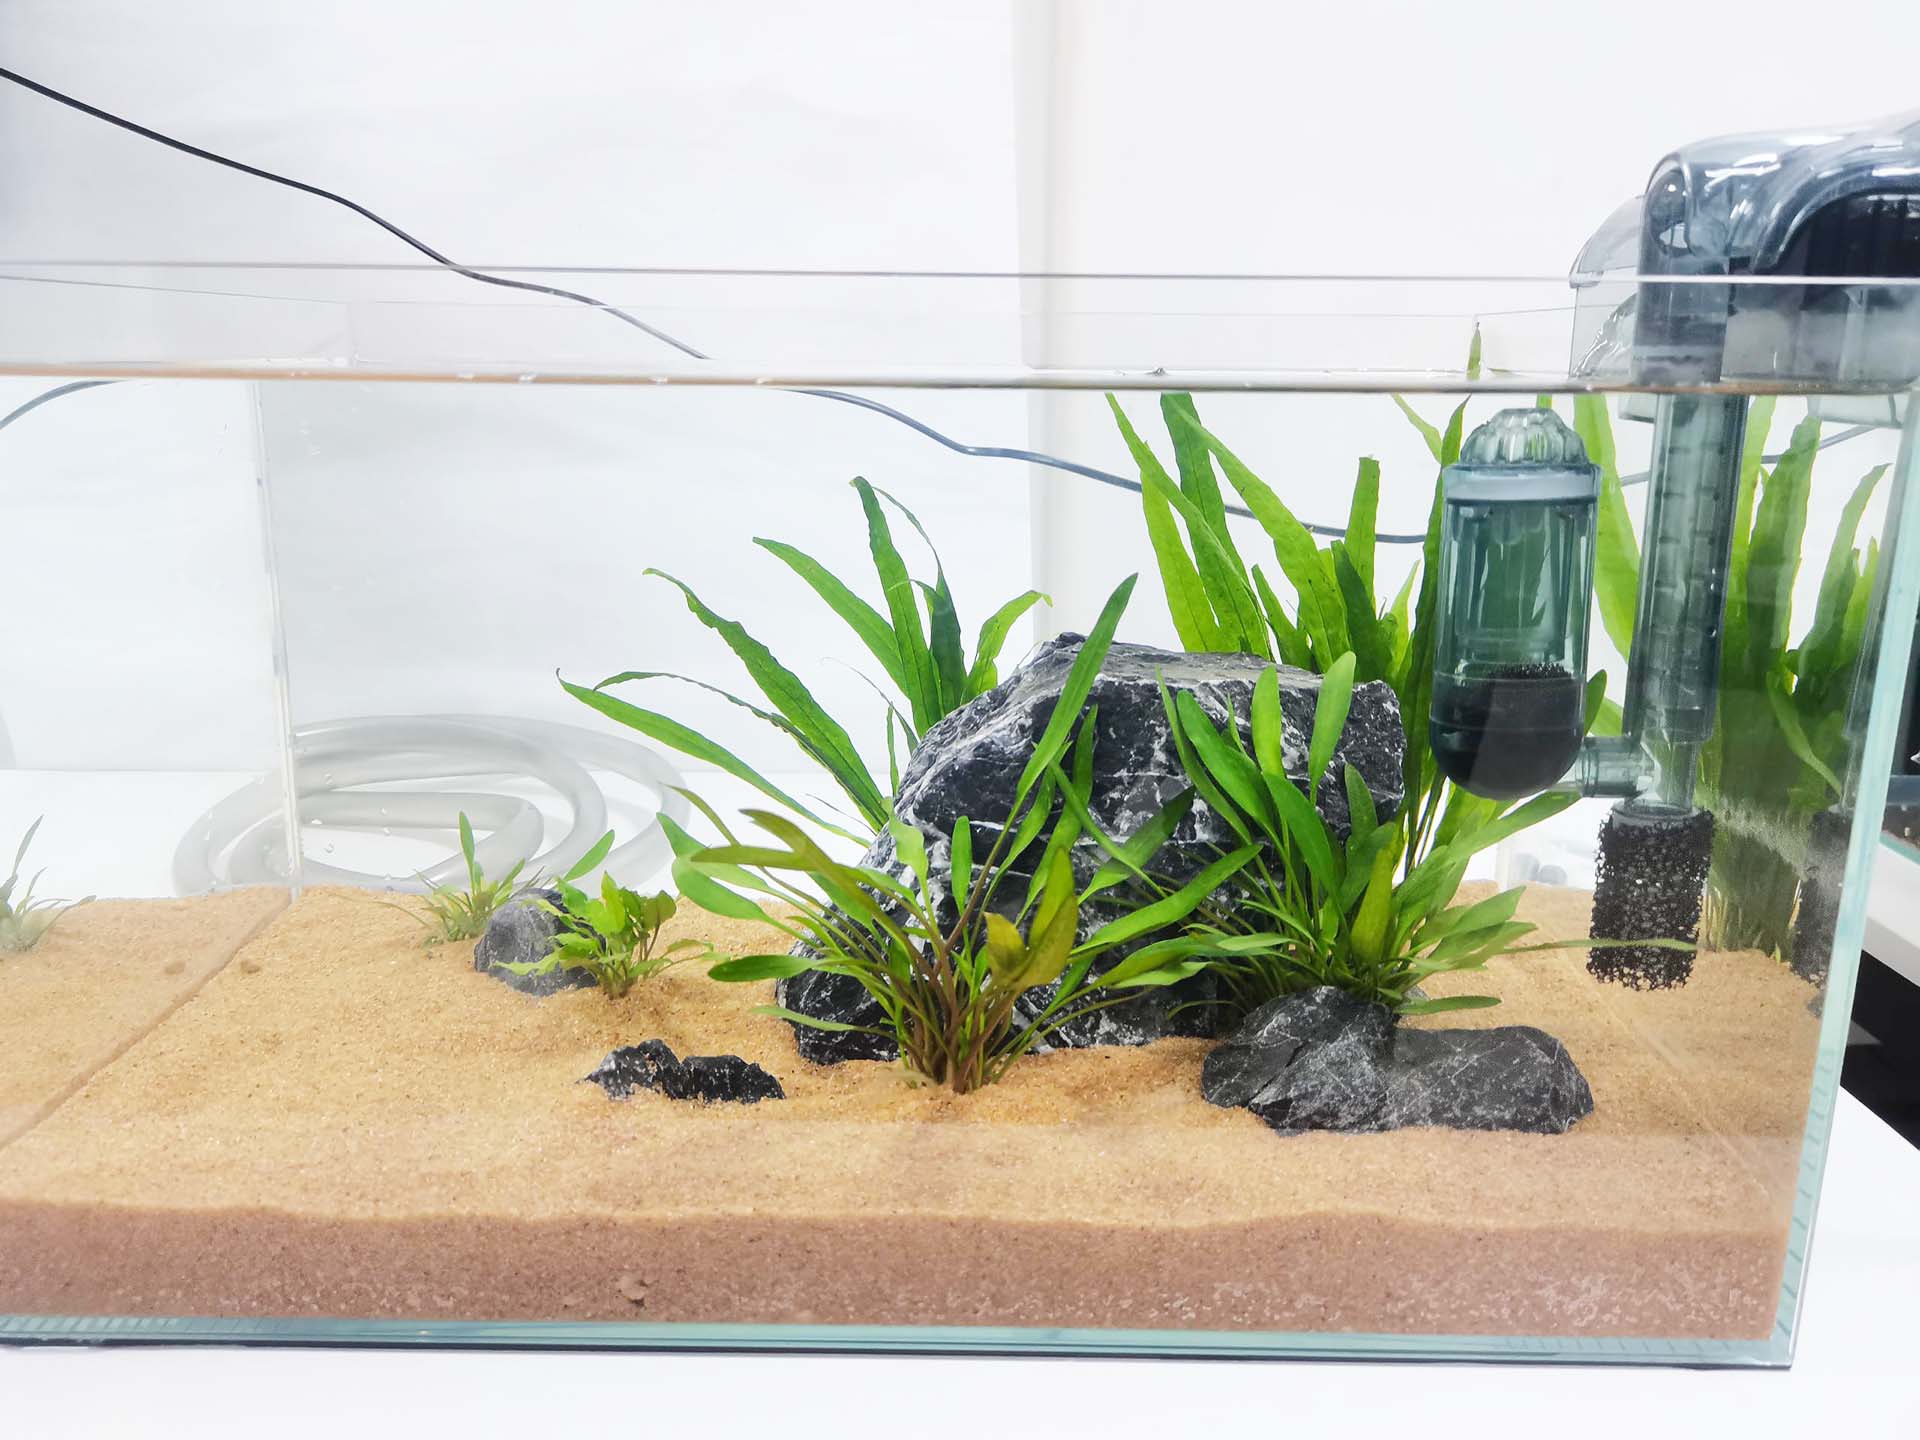
Apply all accessories to your new tank, i.e., water, filter, pump, aquarium decorations, etc. Maintain a proper living environment for your fish and keep them free in your newly set aquarium.
Summary
Take five glass panels of the desired dimension with the required items. Gather the things, mask the panels, clean the edges, apply silicon glue on the sides, glue the EVA foam on the bottom, finish the surface, and leave it for 24 to 48 hours. It is the simple and short answer to how to DIY an aquarium.
In this article, I’ve left the choice to place the side panels inward or on the edges. Whatever arrangement you adopt is fine. You can also go with the combination of both arrangements.
Related Products


Leave a comment